The flight has landed. The seatbelt sign goes off. Everyone around you jumps up immediately and starts pulling bags from the overhead bin. You’re not sure if you should rush or wait. You don’t know where to go next. You don’t know what they’ll ask you at immigration. You’re not sure which queue is for your passport type. You don’t know where your bag will come out.
This is the arrival experience for most first-time international travellers from Nigeria. The flight itself was the part they prepared for. What comes after landing often wasn’t covered in any guide they read.
This article walks through the entire arrival process step by step, from when the plane door opens to when you walk out of the arrivals hall and into your destination country for the first time.
Quick Summary
- When you land, follow the “Arrivals” signs. The process goes: aircraft, immigration/passport control, baggage claim, customs, then exit.
- Have your passport, landing card (if required), and accommodation details ready before you join the immigration queue.
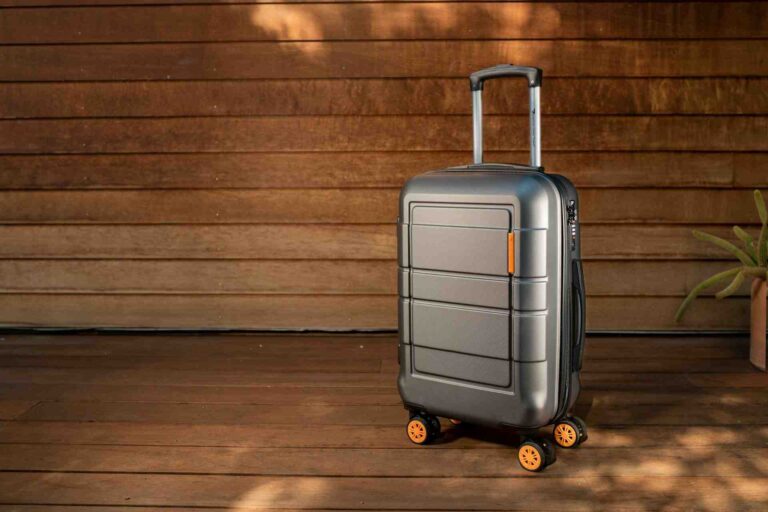
- At baggage claim, match the tag on your bag to the sticker on your boarding pass before you walk off with it.
- If your bag doesn’t arrive, report it at the airline’s baggage desk before you leave the arrivals hall. Don’t wait until later.
- Stay calm throughout. Long immigration queues at foreign airports are normal and not a sign that something is wrong with your documents.
Step 1: Getting Off the Plane and Following the Signs
When the plane parks and the doors open, follow the flow of passengers off the aircraft. You don’t need to rush. If you’re in a middle or window seat, wait for the aisle to clear a little before standing.
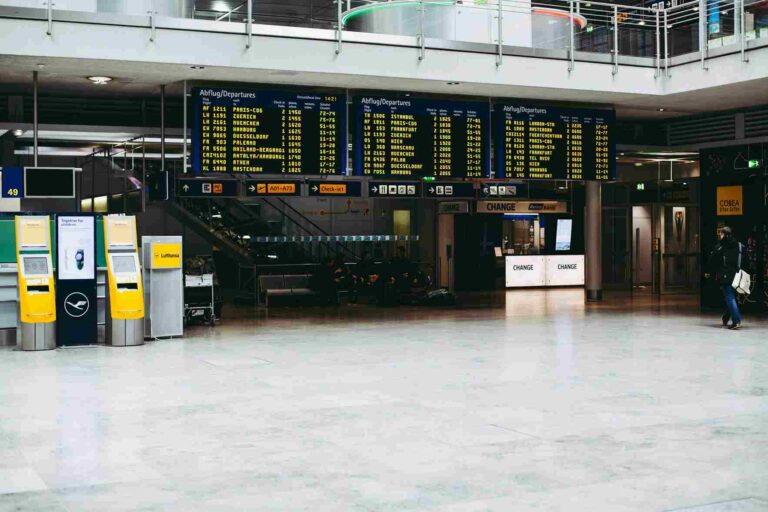
Once you’re off the plane, you’ll be in an airbridge or a terminal corridor. Look up. The signs are your guide from this point. You’re looking for signs that say “Arrivals,” “Immigration,” “Passport Control,” or “Baggage Claim.” At large airports like Heathrow, Dubai, or Toronto, the signage is very clear and in multiple languages. Follow them without overthinking.
At some airports you’ll take a train or a shuttle bus between terminals. Just follow the signs and the crowd. If you had a connecting flight before this one, your boarding pass for the final leg will tell you which terminal or gate you needed. By the time you’re at arrivals for your final destination, you’re just following one set of signs to immigration.
Do not follow random people who approach you offering to guide you through arrivals. These individuals exist at many airports, including Nigerian ones, and are not official staff.
Step 2: Immigration and Passport Control
This is the first major checkpoint after landing. Every arriving passenger goes through it, no exceptions.
You’ll see two main queue types at most international airports:
- Citizens / Nationals of that country
- Foreign Nationals / All Other Passports
As a Nigerian passport holder arriving abroad, you go into the Foreign Nationals queue unless you hold dual citizenship for that country.
Some airports also have e-gates for biometric passport holders from specific countries. These are automated kiosks. As a Nigerian passport holder, you generally won’t qualify for these at most foreign airports unless you have a biometric residence permit or another qualifying document. If you’re unsure, join the staffed queue rather than guessing.
What to have ready before you reach the officer:
- Passport (open to the photo page)
- Visa or entry clearance (printed copy or approval letter)
- Landing card or arrival card if the country requires one (these are sometimes distributed on the plane or available at the airport before the queue)
- Accommodation details: hotel address or the address where you’ll be staying
- Return flight details or onward travel confirmation
- Proof of funds if asked, such as bank statements or a letter of sponsorship
The immigration officer will ask you questions. Common ones include: Why are you visiting? How long are you staying? Where will you be staying? Do you have a return ticket? Answer directly and honestly. Don’t over-explain. Short, clear answers work best.
If you’re going to study, say you’re going to study. If you have a student visa, your visa already tells them that. Don’t say you’re “visiting” when you have a student visa. Inconsistencies between your answers and your visa category create problems.
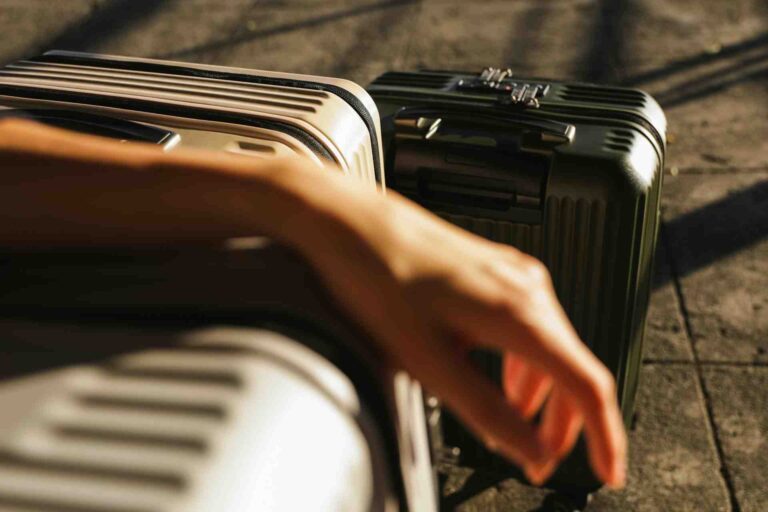
Step 3: Collecting Your Checked Bag at Baggage Claim
After immigration clearance, follow the signs to Baggage Claim or Baggage Reclaim. You’ll see a large hall with conveyor belt carousels. Each carousel is assigned to a specific flight.
Look at the screens in the baggage hall. They list flight numbers and the carousel number assigned to each flight. Find your flight number and go to the correct carousel.
Wait for the belt to start moving and bags to come through. When you see what looks like your bag, check it before you take it.
How to confirm the bag is yours:
When you checked in your luggage, the agent attached a baggage tag to your bag and gave you a small sticker with the same barcode, usually attached to your boarding pass. Pull that sticker out now. The code and flight information on that sticker should match the tag hanging on the bag.
Don’t just grab a bag because it looks like yours. Black rolling suitcases look identical on a carousel. Check the tag.
What to Do If Your Bag Doesn’t Arrive
You’ve waited. The carousel has stopped. Other passengers from your flight have all collected and left. Your bag is not there.
This is called a delayed or missing bag, and it happens more often than airlines advertise. It’s frustrating but it’s manageable if you act immediately.
Do not leave the arrivals hall without reporting it.
Find the airline’s baggage desk or lost and found counter in the baggage claim area. Every airline operating at an international airport has one. Tell them:
- Your flight number and route
- Your bag description (colour, brand, size, any distinguishing features)
- The baggage tag reference number from the sticker on your boarding pass
- Where you’ll be staying (so they can deliver the bag when it’s found)
They’ll give you a Property Irregularity Report (PIR) reference number. Keep this. You’ll need it to follow up and potentially claim compensation if the bag takes more than a few days.
Most delayed bags are found and delivered within 24 to 72 hours. Keep essential items like medication, your phone charger, and a change of clothes in your carry-on precisely so that if this happens, you’re not completely without basics.
Step 4: Customs
After you collect your bags, you’ll walk through customs before exiting the arrivals hall. Customs exists to check that you’re not bringing prohibited or restricted items into the country, and in some cases to declare items above a certain value.
Most airports have two channels:
- Green channel / Nothing to Declare: for passengers who are not carrying goods above the duty-free allowance and have nothing restricted or prohibited
- Red channel / Goods to Declare: for passengers who need to declare items, pay duty, or discuss restricted goods with a customs officer
As a first-time traveller coming to study, work, or visit, you’ll almost certainly be going through the green channel. But be honest with yourself about what you’re carrying.
Things that commonly cause issues at customs:
- Large amounts of cash (most countries require you to declare amounts above a certain threshold, typically around $10,000 or equivalent, though this varies by country, check before you travel)
- Certain food items, especially fresh meat, produce, or dairy
- Medications in large quantities without a prescription
- Commercial goods that could be interpreted as items for sale
If you’re unsure whether something needs to be declared, use the red channel and ask. That’s what it’s there for. Getting stopped in the green channel with something that should have been declared is a worse outcome than declaring it voluntarily.
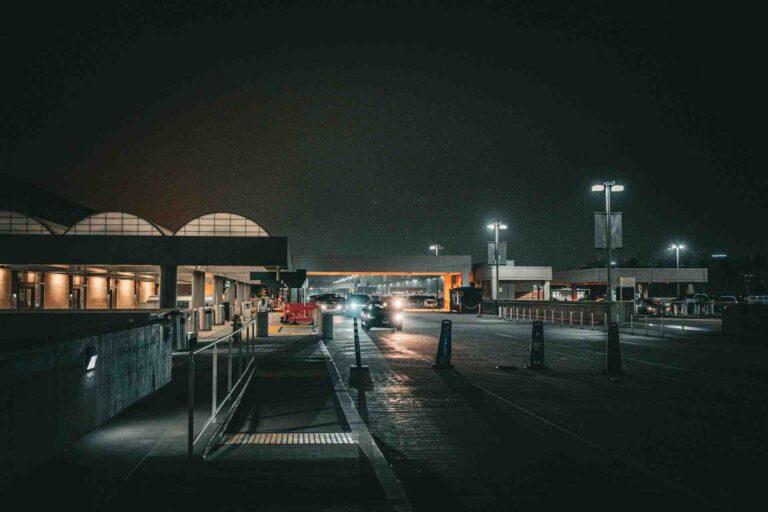
Step 5: Exiting the Arrivals Hall
Once you’re through customs, you walk through the exit into the public arrivals hall. This is where people waiting to meet passengers stand.
If someone is picking you up, confirm the meeting point before you travel. Large airports have multiple exits from arrivals and designated pickup zones. “I’ll meet you at arrivals” is not specific enough.
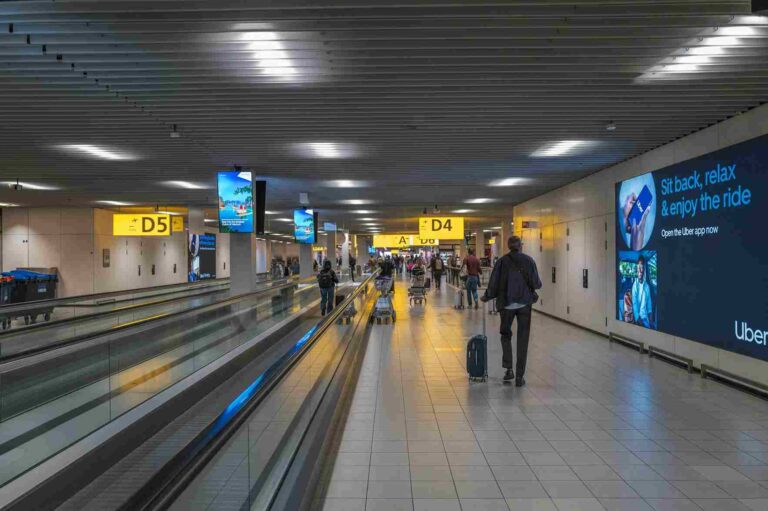
If you’re making your own way from the airport, know your options before you land:
- Official taxis or ride-hail services: most major airports have designated pickup zones for Uber, Bolt, or local equivalents. Use these rather than accepting rides from people who approach you inside the terminal.
- Public transport: trains, buses, or metro connections. Check what’s available for your specific airport before you travel.
- Pre-booked transfers: if your school, employer, or host has arranged a pickup, confirm those details in advance including the driver’s name and what sign they’ll be holding.
Don’t accept rides from unlicensed drivers who approach you in the terminal. This is a scam risk at airports globally, including many airports in Europe, North America, and Asia.
Chidi’s First Landing in London
Chidi, 27, landed at Heathrow Terminal 2 for the first time after a direct flight from Lagos. He’d read about the arrival process beforehand.
He followed the Arrivals signs from the gate to immigration. He joined the Foreign Nationals queue, had his passport and student visa printed and ready, and had his university accommodation address written in his phone and on a piece of paper. The officer asked three questions, why he was entering, how long his course was, and where he’d be staying. He answered all three directly. His passport was stamped. He was through in four minutes.
At baggage claim, he matched his bag tag to the sticker on his boarding pass before lifting it off the carousel. He walked through the green customs channel. He exited into arrivals and found the Heathrow Express train to Paddington, which he’d planned before leaving Lagos.
No panic. No confusion. Just preparation.
Arrival Checklist
Go through this before you land:
- [ ] Landing card completed if distributed on the plane
- [ ] Passport accessible and open to photo page
- [ ] Visa or entry document ready (printed)
- [ ] Accommodation address written down or saved offline
- [ ] Return ticket accessible
- [ ] Baggage tag sticker kept from boarding pass
- [ ] Airline baggage desk location noted in case of missing bag
- [ ] Transport from airport researched and planned
- [ ] Customs declaration requirements checked for destination country
- [ ] Pickup arrangement confirmed with specific meeting point if applicable
FAQs
The immigration queue is very long. Does that mean there’s a problem? No. Long queues at immigration are normal at busy international airports, especially at peak arrival times. Heathrow, Schiphol, and Toronto Pearson can all have queues that take 45 minutes to over an hour. Stay in the queue, have your documents ready, and wait your turn. Don’t try to switch queues unless directed by an official.
The immigration officer asked me more questions than I expected. Should I be worried? Not necessarily. Some officers ask more questions than others. As long as you’re answering honestly and your documents are in order, additional questions are routine. Stay calm, answer directly, and don’t elaborate beyond what’s asked.
My bag arrived but it’s damaged. What do I do? Report it at the airline’s baggage desk before you leave the arrivals hall, the same place you’d report a missing bag. Show them the damage and get a reference number. Take photographs of the damage immediately. Most airlines have a process for claiming compensation for damaged luggage.
I forgot to fill my landing card on the plane. Can I still get one at the airport? Usually yes. Landing cards are typically available at dispensers near the immigration queue or at the entry to the immigration hall. If you don’t see them, ask an airport staff member before you join the queue. Some countries have moved to digital arrival cards, which you complete online before travel. Check what your destination requires before you fly.
Can I use my phone to look things up while waiting in the immigration queue? Yes, you can use your phone while waiting. Many people use this time to confirm their accommodation address or look up information they need. Just make sure your phone is put away by the time you reach the officer and give them your full attention.
The Arrival Process Is a Sequence. Know It Before You Land.
Everything after landing follows a fixed order: immigration, baggage claim, customs, exit. Each step has signs pointing you to the next one. Each checkpoint has a clear purpose and a predictable process.
The passengers who get through arrivals fastest are the ones who have their documents in hand, know what questions to expect, and don’t freeze when something is unfamiliar. That’s preparation, not luck.
If you’re landing abroad for the first time as part of your japa journey, the arrival process is just the beginning of what’s next. DeyWithMe has guides covering how to settle in, open a bank account, register with local services, and navigate life in the UK, Canada, Australia, and beyond.